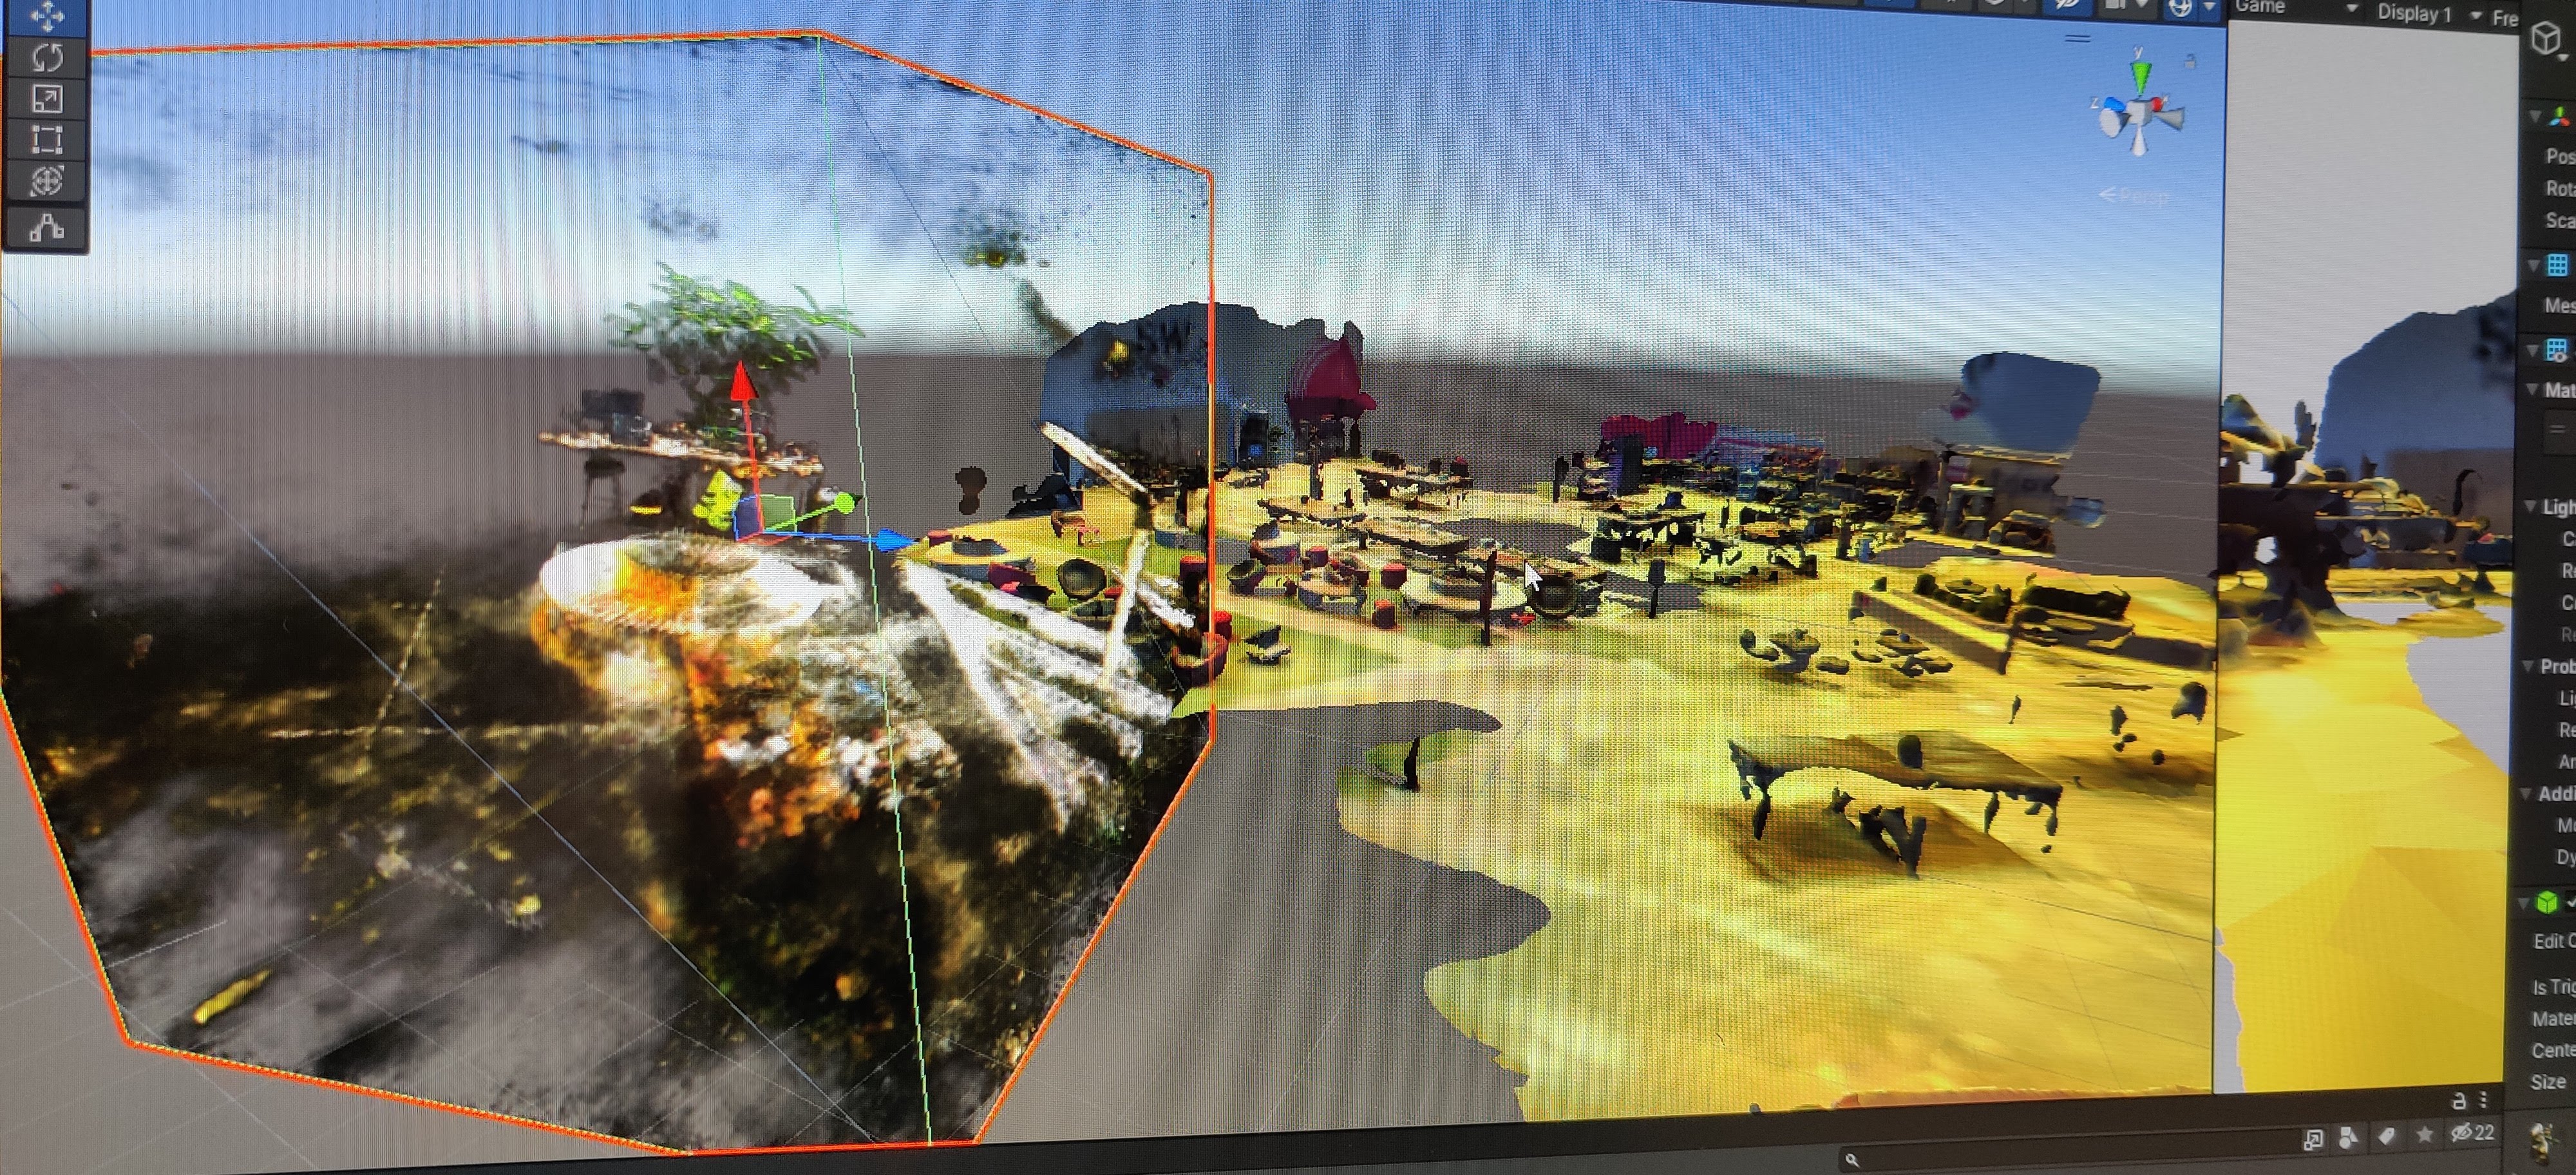
Overview
For the past few months, I have been obsessed with the idea of digitalizing real physical objects into 3D model rendering for a few of my Digital Twin projects. Much of my experiences with 3D modeling has been a big fat 0, but…. who need 3D modeling skill when you can just use lidar from the IPad for a quick 3D scan :) The result scan using the IPad has served its purpose for a quick prototype, but to get a high fidelity 3D model, I have to try other approaches.
While doing some research on 3D capturing, I stumbled upon a subreddit called r/photogrammetry. There are a lot of great 3D scanned projects on this site, but something else caught my eye while scrolling through this subreddit. Something called “NVIDIA Instant NeRF”. What incredible about these projects using Instant NeRF are the detail of the focal object and also the dreamy-like surrounding environment.
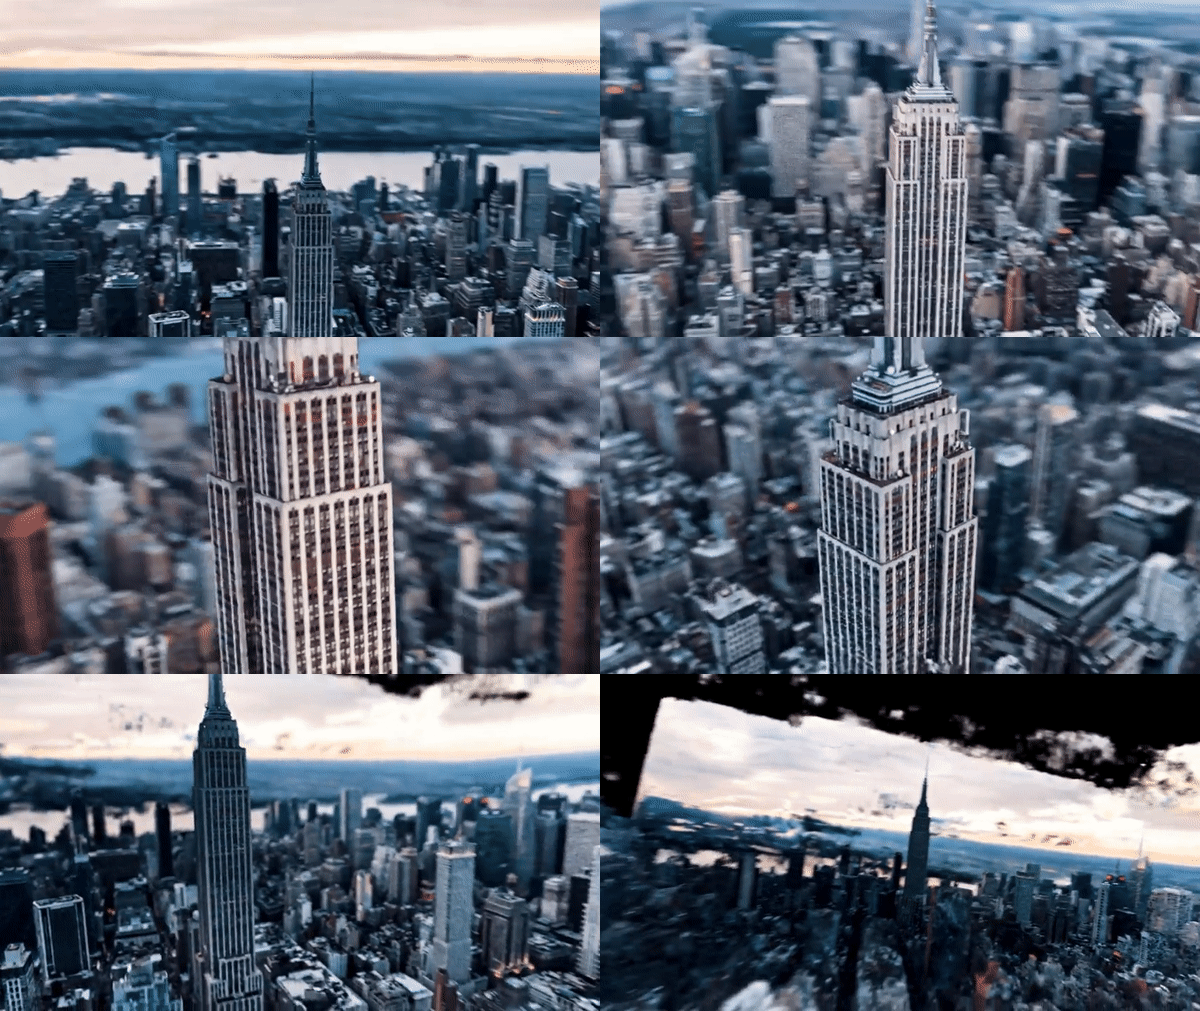 Credit to u/PLapse
I knew right away that I have to give this tool a try! After spending sometime figuring out how to set up the project and playing with the tool, I was beyond excited to see how cool the result look. But my happiness soon faded away … I quickly realized the tool doesn’t provide you a good output file(s) that accurately represent what we see within the tool. The only 3 types of outputs (maybe more by the time this blog is dated) the tool provides are OBJ (which look like jumble mess when you export), raw volume (I have yet to figure out what this is yet), and RGBA slices which is workable with.
So let’s dive right into it and render some of these slices!
What we need + set up
A few things we will need before render these slices in Unity
1. Instant-ngp installed.
There are a lot of good articles out there that show how to set this up. Here are a few:
I’m happy to help out more if anyone need some pointers.
2. Get RGBA slices from instant-ngp tool
Assume you have the tool installed, let’s run the sample nerf dataset with the fox folder:
instant-ngp$ ./build/testbed --scene data/nerf/fox
Window:
instant-ngp> .\build\testbed --scene data\nerf\fox
Hopefully, this is what we see:
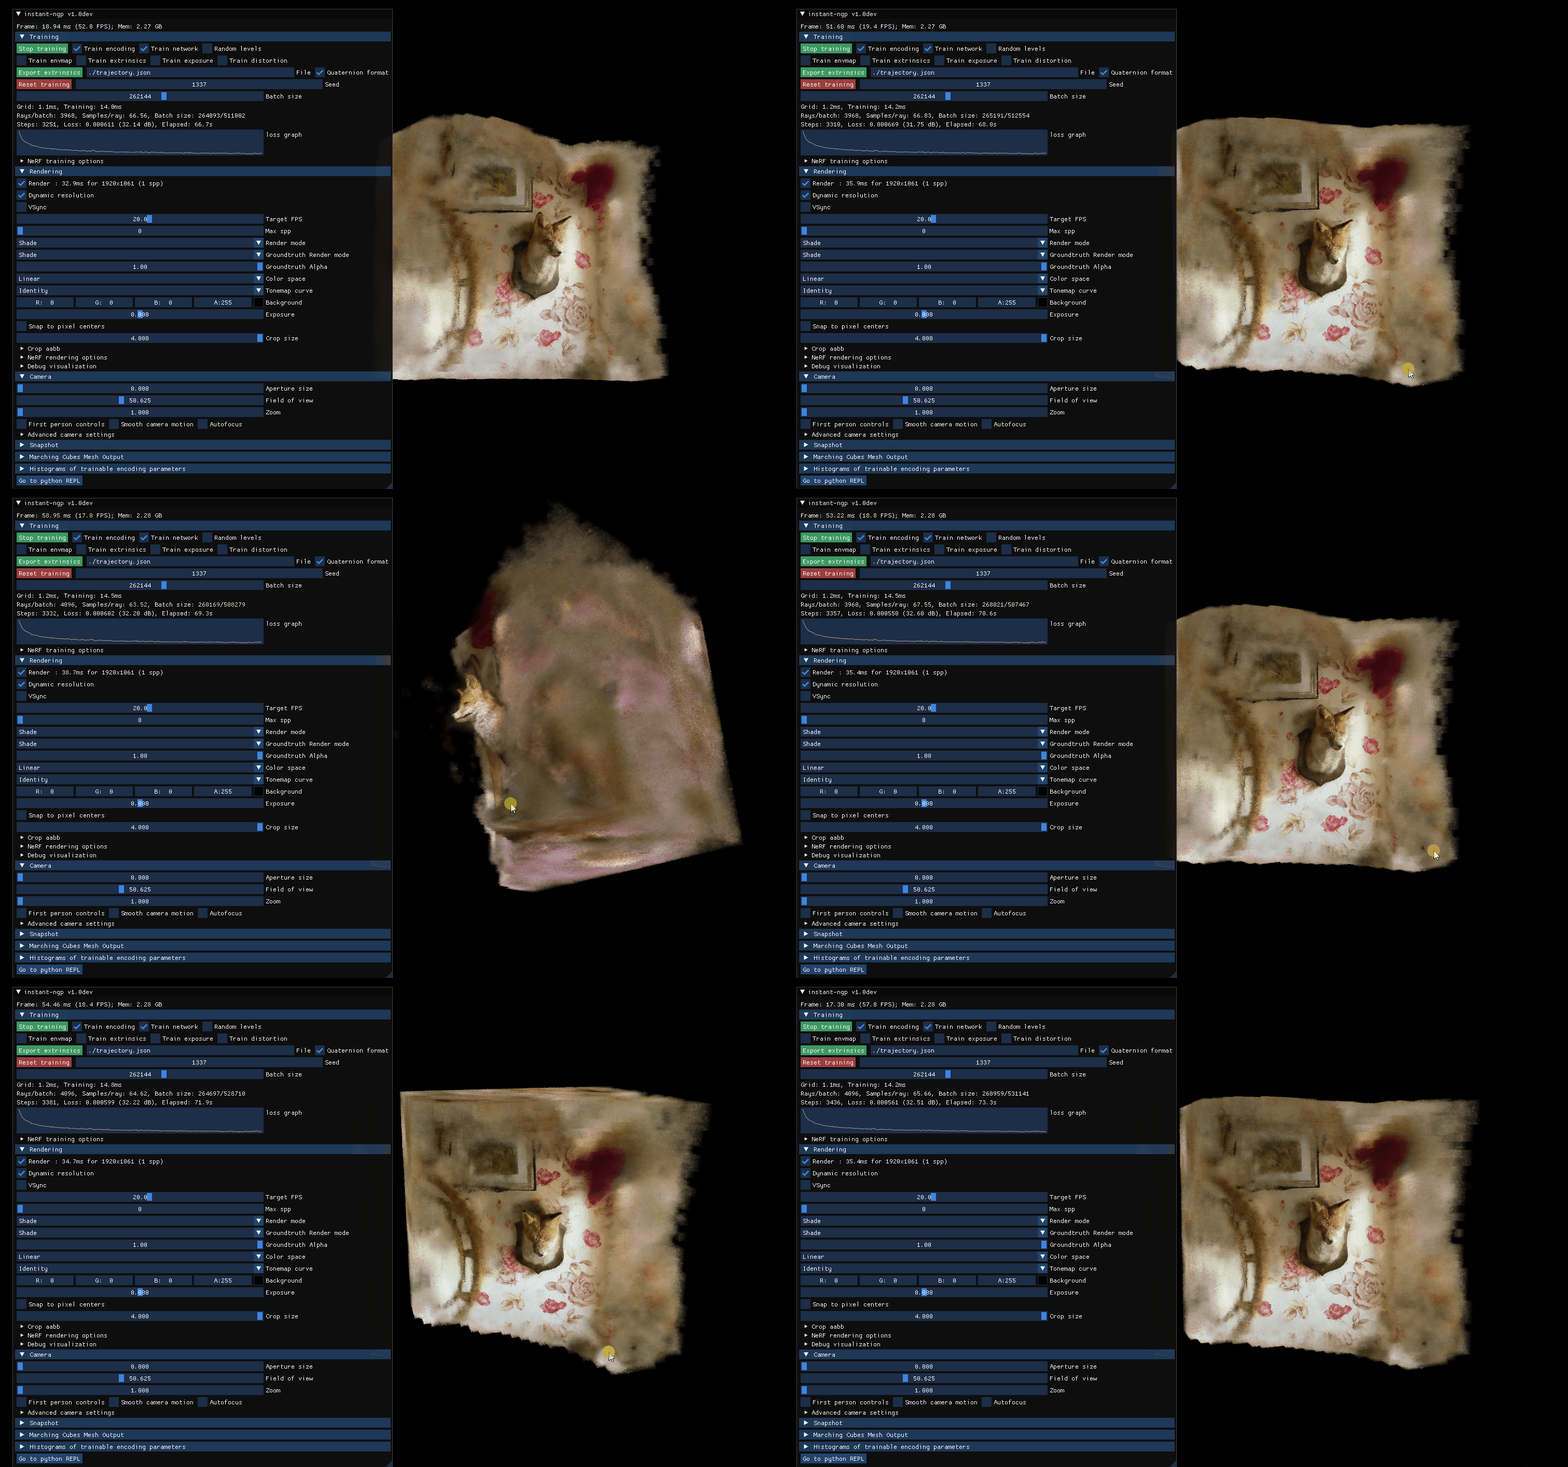
Next, stop the training(since training suppose to be instant :D ), then we can go to Crop aabb to change the volume that we want to slice with.
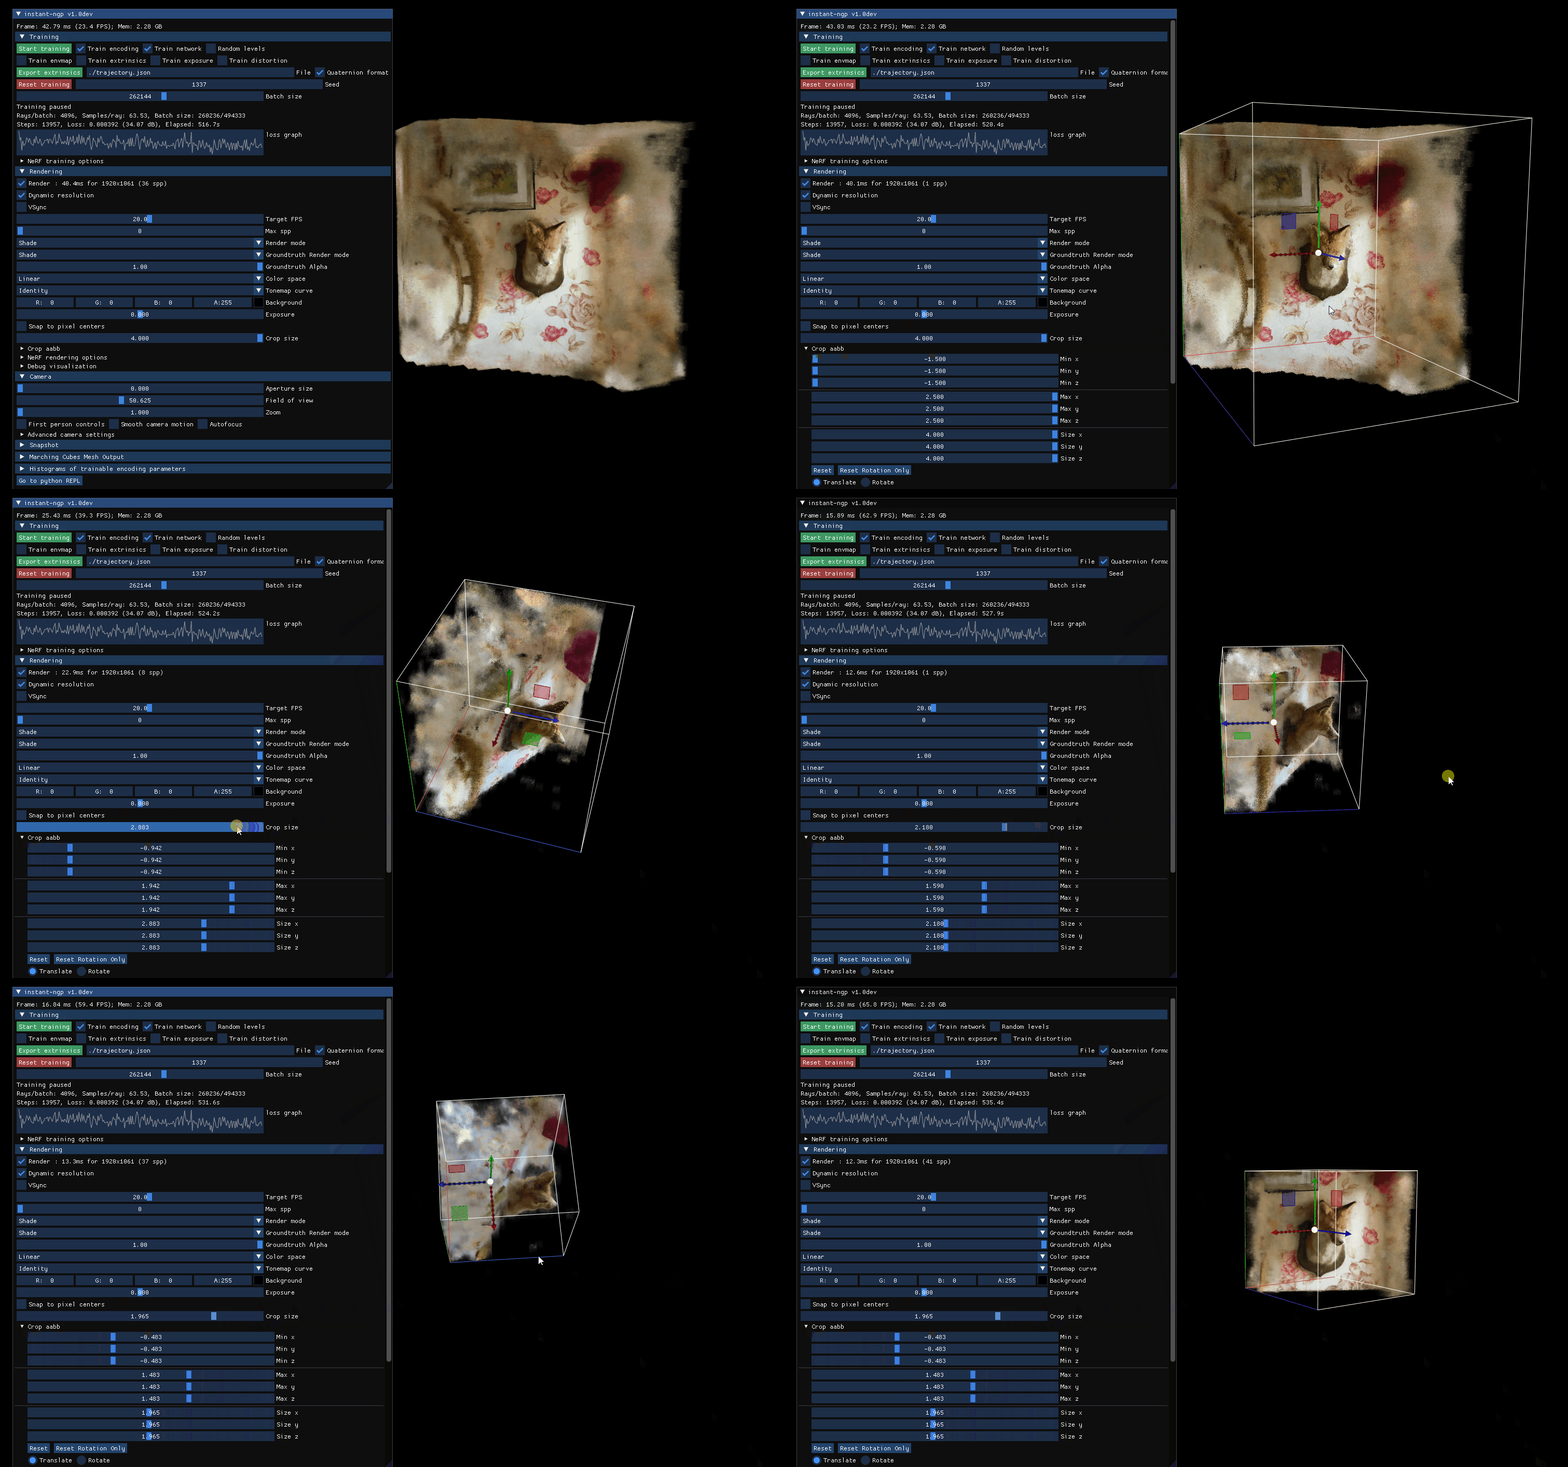
Once we are satisfied, go to Marching Cubes Mesh Output. We can adjust the density range, resolution, etc… Once you are satisfied, click Save RGBA PNG sequence:
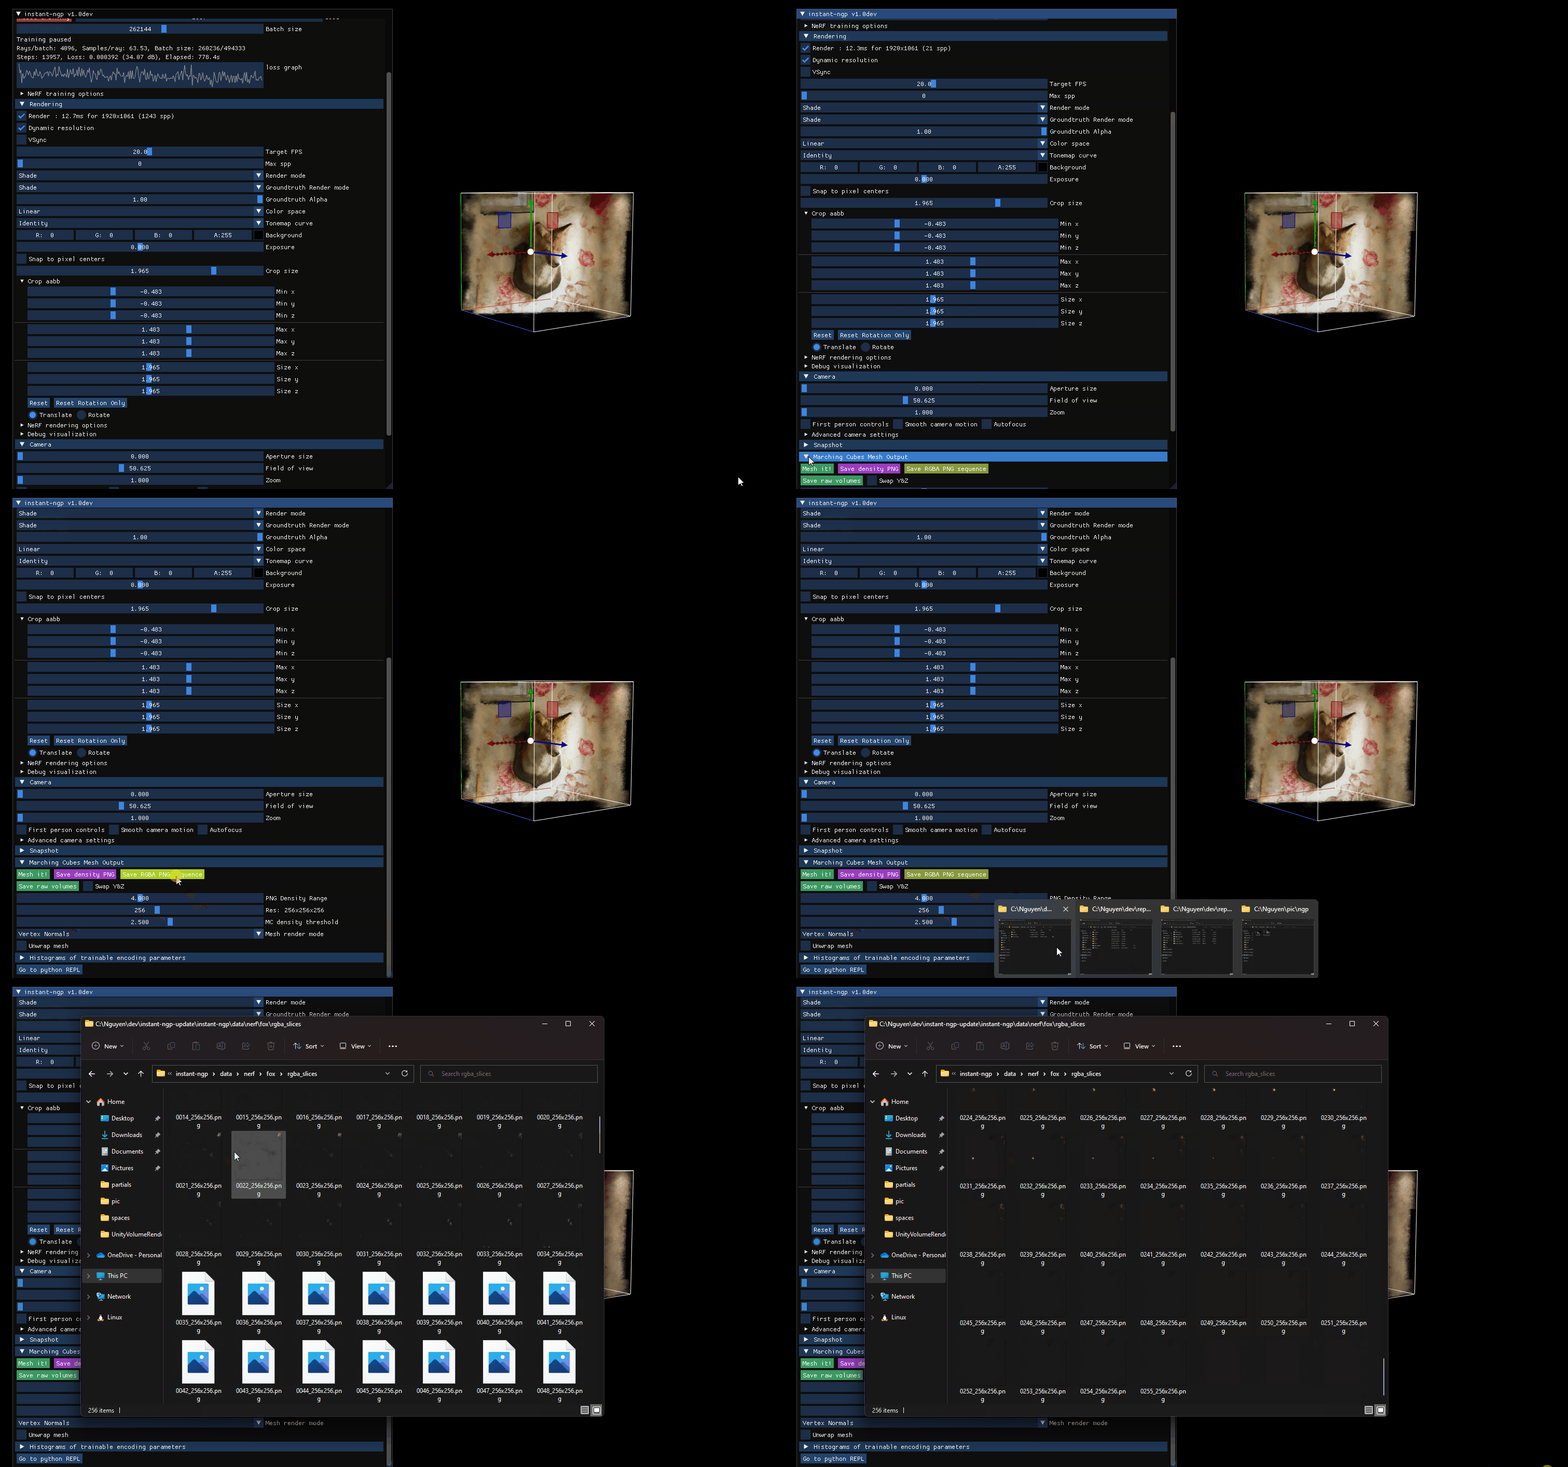
The slices should be generated in path\instant-ngp-update\instant-ngp\data\nerf\fox\rgba_slices. We will copy this folder into our Unity project in the next section.
Once that done, we are ready to move on to Unity setup!
3. Unity setup
Too speed up this process, I already have a repository setup with URP, VFX graph, an old custom volume rendering shader from a previous project, and few slices folders that we can test with.
Clone this project, or you can also set up a new Unity project with URP and VFX graph. Github link: NeRF Rendering Unity
One you have the project cloned, you can then copy your rgba_slices folder into Unity Assets/StreamingAssets:
(Noted the repo already has a rgba_slices_fox folder which I already renamed from rgba_slices)
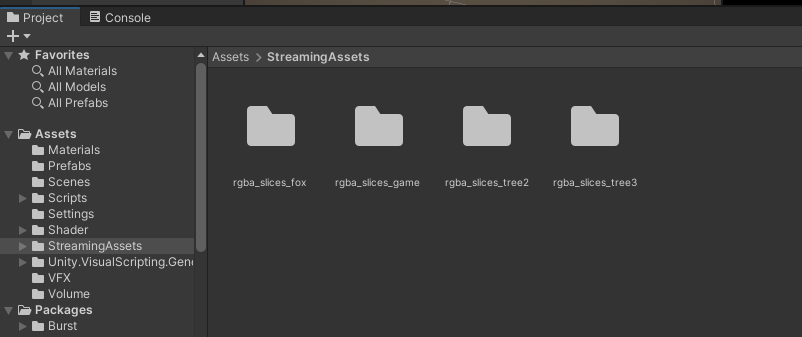
This should be all we needed, let’s go into a few main components that we will use to render these slices.
Build 3D Texture from slices
I made this script to help stitch these rgba slices into a Texture3D. From a Texture3D, there are a few ways that Unity can help render these 3D texture object.
using System.IO;
using UnityEditor;
using UnityEngine;


public class BuildTexture3DFromSlices : MonoBehaviour
{
    [SerializeField] private Vector3 textureVolume;
    [SerializeField] private string folderName;
    [SerializeField] private string outputName;
    private string slicesPath= $"{Application.streamingAssetsPath}/default";
    private Texture3D texture3d;

    /// <summary>
    /// Read slices from streaming asset folder and save to a texture3D
    /// These slices are generated from instan-ngp project
    /// </summary>
    private void ReadFile()
    {
        slicesPath = $"{Application.streamingAssetsPath}/{folderName}";
        Color[] texture3dColor = new Color[(int)(textureVolume.x * textureVolume.y * textureVolume.z)];

        Debug.Log($"color size : {texture3dColor.Length}");
        int z = 0;
        foreach (string filePath in Directory.EnumerateFiles(slicesPath))
        {
            string extension = Path.GetExtension(filePath).ToLower().Trim();
            if (!extension.Equals(".png") && !extension.Equals(".jpg")) continue;
            Debug.Log($"File {filePath}");

            byte[] bytes = File.ReadAllBytes(filePath);
            Texture2D slice = new Texture2D(2, 2);
            slice.LoadImage(bytes);
            int zOffset = z * (int)textureVolume.x * (int)textureVolume.y;
            for (int y = 0; y < textureVolume.y; y++)
            {
                int yOffset = y * (int)textureVolume.x;
                for (int x = 0; x < textureVolume.x; x++)
                {
                    Color color = slice.GetPixel(x, y);
                    texture3dColor[x + yOffset + zOffset] = color;
                }
            }
            z++;

        }

        texture3d = new Texture3D((int)textureVolume.x, (int)textureVolume.y, (int)textureVolume.z, TextureFormat.RGBA32, false);
        texture3d.SetPixels(texture3dColor);
        texture3d.Apply();
    }

    /// <summary>
    /// Create Texture3D asset from slices
    /// </summary>
    public void BuildTexture3D()
    {
        ReadFile();
        AssetDatabase.CreateAsset(texture3d, $"Assets/Volume/3DTexture_{outputName}.asset");
    }
}
How to use:
Under Prefabs folder, there is a BuildTextureSlices prefab that you can drag into a scene.

A few parameters that you need to fill in before you can build your Texture3D
Texture Volume: the size of your slices
Example, if your rgba_slices folder has 256 images, and each image has the name like ***_240x96. This mean, x: 240, y: 96, z : 256
Folder Name: the slices folder name
All slices should be under Assets/StreamingAssets/
Output Name: the Texture3D asset name
The output will be under Assets/Volume/ folder
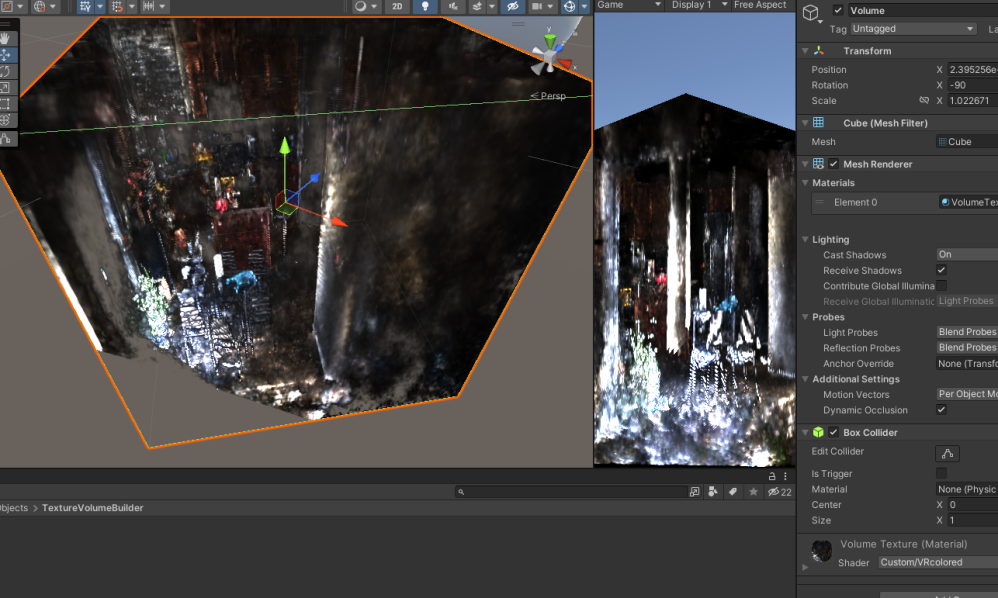
Click Build Texture3D now. This will hopefully be the result after the build is success.

Custom Volume Rendering
Will add more contents later.
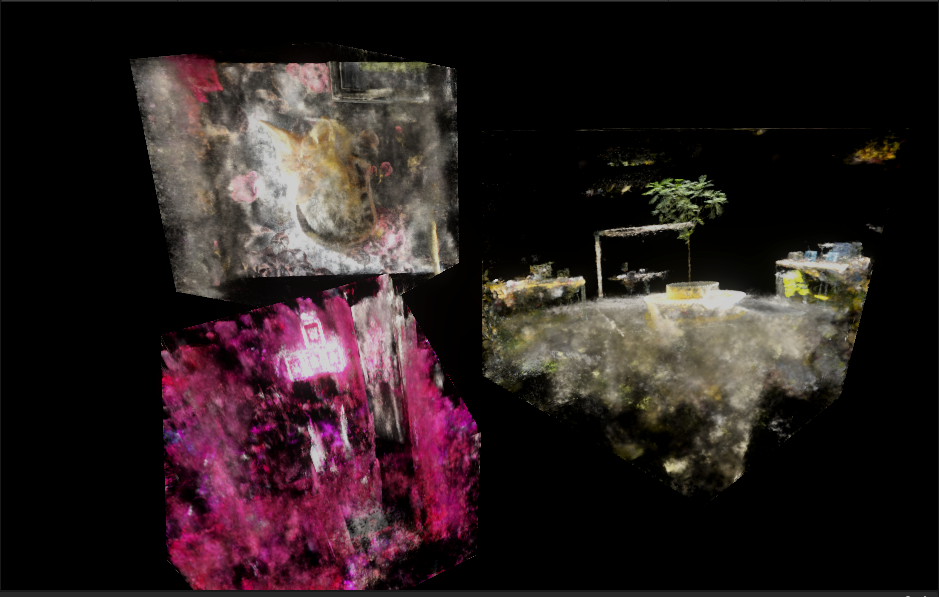
This shader is based on my old project. Link to the report: VR Volume Rendering
VFX Graph Texture3D sampling (point cloud ?)
Will add more contents later.

MRTK and Hololens !!?!
Trying to get this to run in Hololens 2. So far, the performance isn’t so great, but hopefully I can show case more later. Stay tune!
Gallery
Will add more contents later. For now, here are some early attempt pictures using Nvidia Nerf and custom volume rendering
